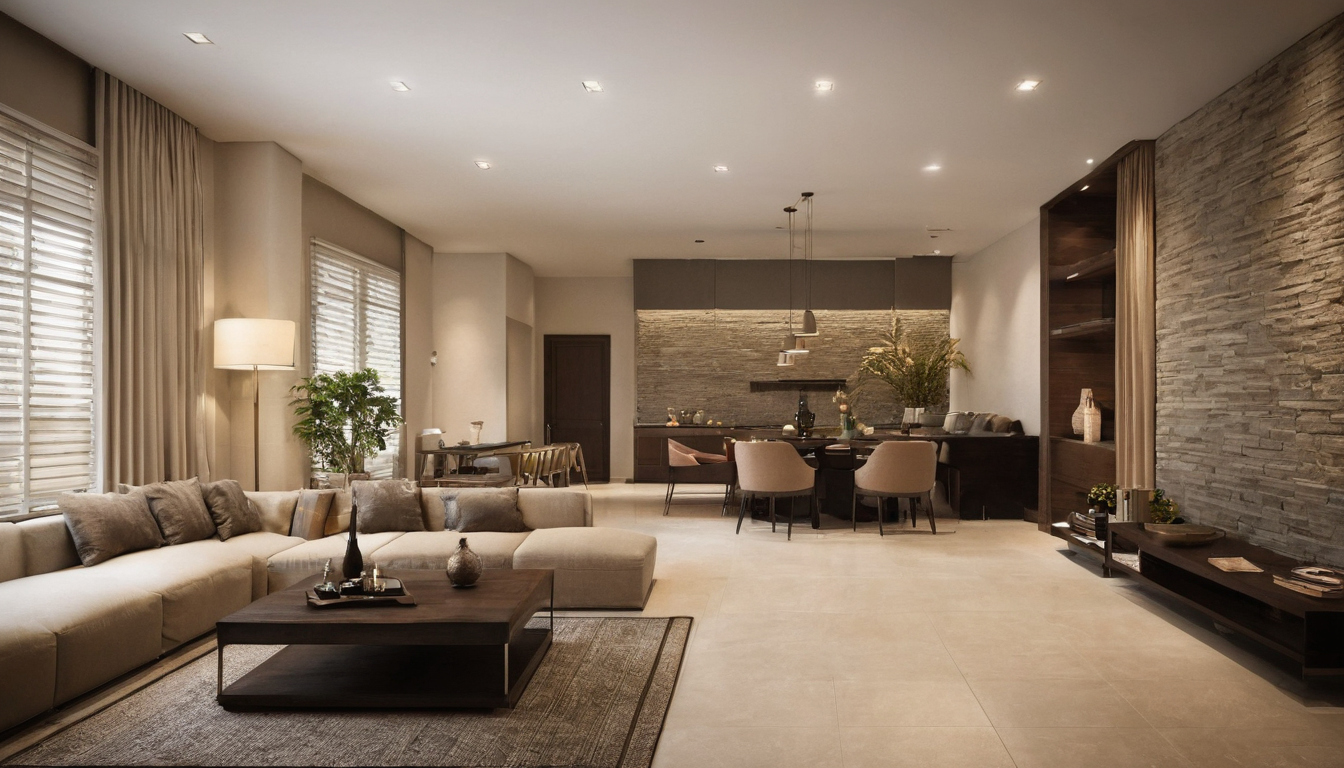
In this guide
- When a custom door earns its cost
- Choose the opening type against the actual plan
- Turn “wood door” into a construction specification
- Check privacy, airflow and sound as one problem
- Agree the site conditions before delivery
- Issue a door schedule that both bidders can price
- Compare the installed scope, then inspect a completed opening
A door can look right in a rendering and still be wrong for the room: the handle hits a wardrobe, the open leaf blocks a passage, or the bedroom has little privacy once the air-conditioning is running. A bespoke finish will not correct those problems. Before ordering custom interior doors, agree what each opening must do, then specify the leaf, frame and hardware as one package.
This guide is for homeowners comparing a standard door with a made-to-order alternative, or checking a joiner’s quotation before manufacture. Start with the room uses in your room-by-room villa brief. The door schedule should follow those decisions, rather than introduce a different set of assumptions.
When a custom door earns its cost
Write the reason for customisation beside every door number. “D-01: face veneer must align with the adjacent wall panels” gives a joiner something to price. “D-01: luxury door” leaves the construction, finish and performance open to interpretation.
A made-to-order leaf may be justified by an unusual height, an existing opening that cannot sensibly be altered, a particular panel arrangement, or a finish that must continue across joinery. Even then, ask whether a standard door assembly with a coordinated finish would achieve the result. Making every door taller or heavier can create additional work in frames, hinges, walls and installation without improving the rooms.
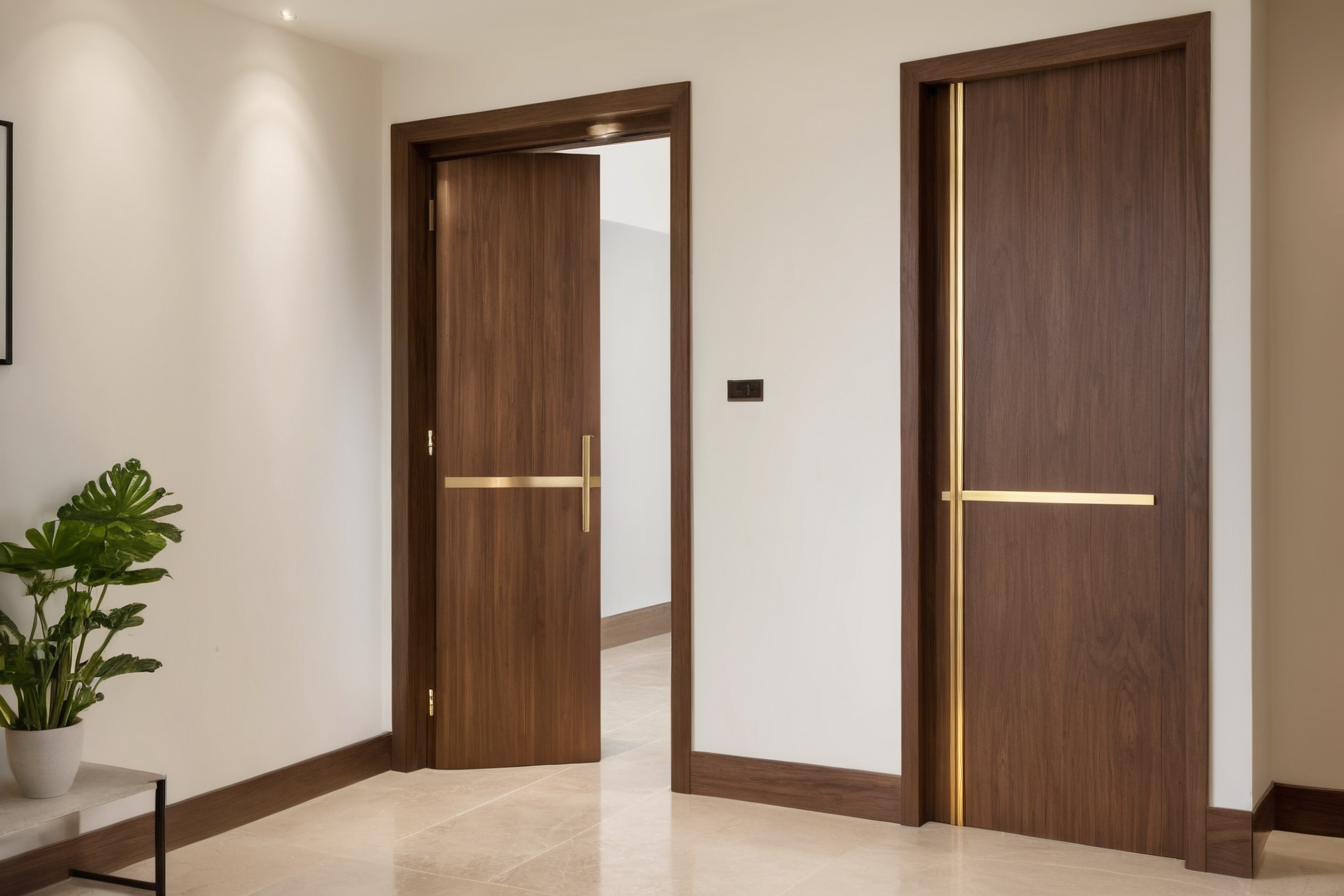
Separate the visible decision from the operational one. A flush door describes how it meets the wall or frame; it does not, by itself, describe the core, acoustic performance or opening mechanism. Likewise, a walnut-faced door may use a wood veneer over another core. Specify what is underneath the finish rather than relying on a material name in a sales description.
Choose the opening type against the actual plan
Mark the furniture, switches and full opening path on the same plan. Check how one person enters while another passes, then test whether the largest item can go through the doorway. A leaf may swing freely while its handle still obstructs a drawer beside it.
| Option | Reason to consider it | What the drawing must resolve |
|---|---|---|
| Side-hinged door | A straightforward opening where there is usable swing space. | Show hinge side, opening direction, handle projection, stop position and conflicts with adjacent furniture. Confirm the usable passage, not just the leaf width. |
| Pocket sliding door | The swing of a hinged leaf would occupy space needed for circulation or furniture. | Identify the pocket system and its wall build-up. Coordinate services in that wall, the meeting jamb, pulls and access for maintenance. Ask for the proposed privacy and sealing detail. |
| Surface sliding door | A sliding arrangement is wanted without forming a pocket inside the wall. | Keep the wall run clear of switches, furniture and projections. Draw how the leaf overlaps the opening and how gaps will be treated; a decorative sliding panel should not be assumed to provide acoustic privacy. |
| Pivot door | A particular opening geometry or architectural effect warrants a pivot assembly. | Locate the pivot axis and draw the movement on both sides of it. Obtain the actual hardware limits, supporting details and net clear opening for the proposed size and weight. |
There is no single ideal door width or clearance for every villa. Record the requirements for the actual users and opening, then have the designer confirm the applicable project requirements. Do not turn a catalogue leaf dimension into an assumed clear passage: the frame, stops and open leaf affect what remains usable.
Turn “wood door” into a construction specification
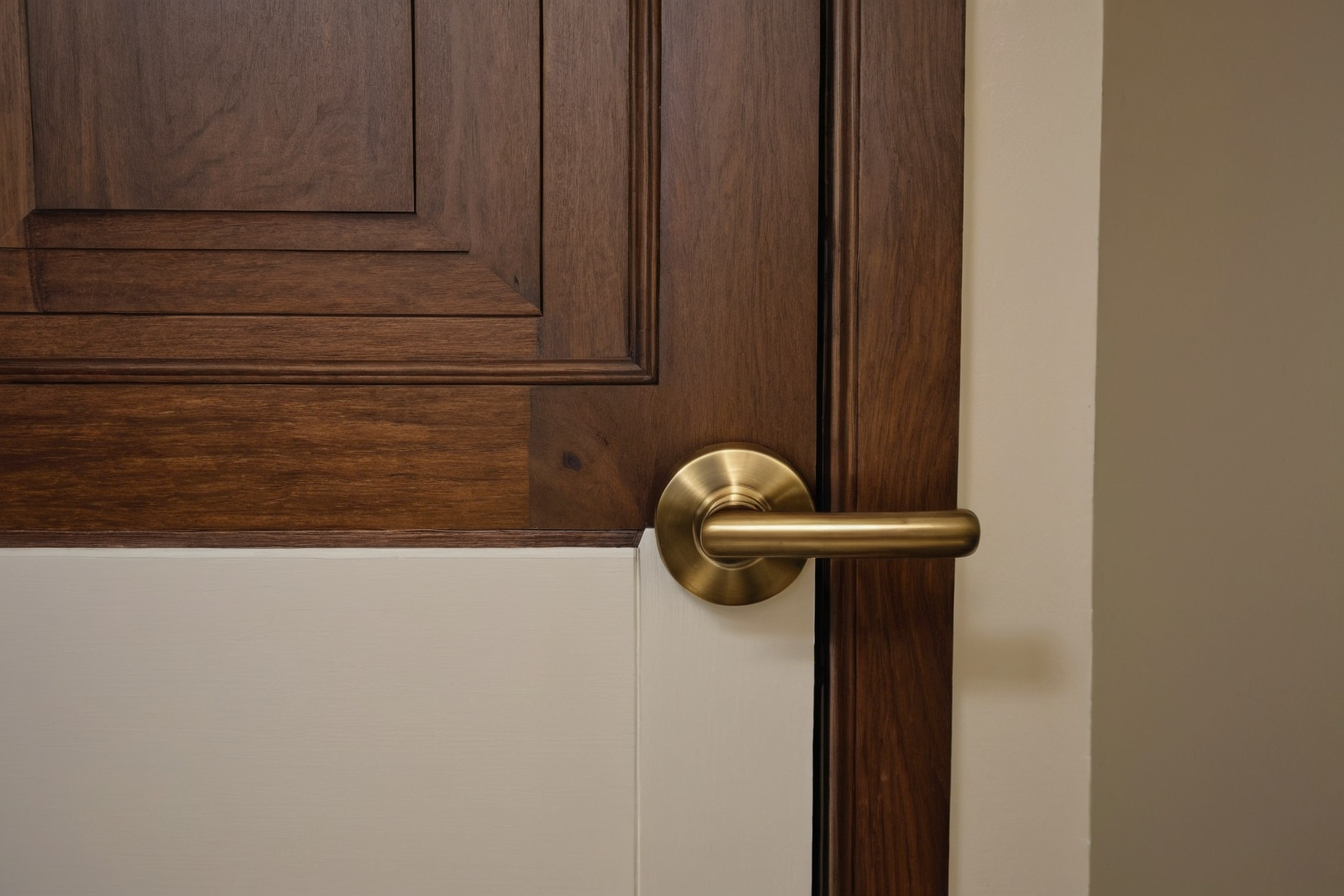
Ask for a section through the proposed leaf. It should identify the core, the face layers, the perimeter edges and the reinforcement needed for the selected hardware. A photograph of a finished door cannot establish any of these.
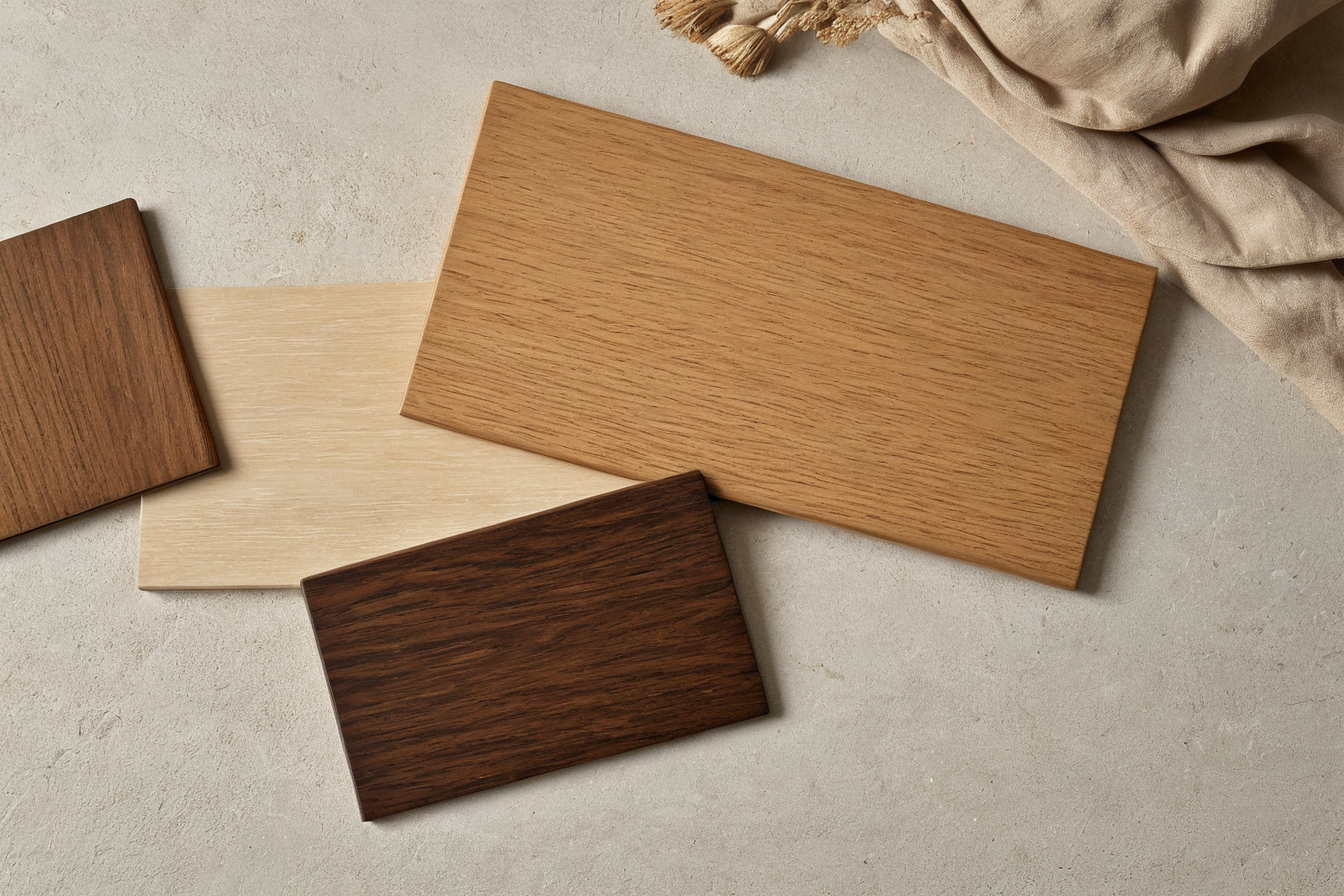
For a veneered finish, record the species, grain direction and arrangement of adjacent veneer pieces. If several doors are visible along one corridor, decide whether their appearance must be coordinated as a group. Approve both a finish sample and the proposed arrangement; a small square of timber will not show how a tall door meets the panelling beside it.
For a painted leaf, agree the colour, sheen, visible edge treatment and repair method. Inspect the sample under the room’s intended lighting. At a concealed frame, also draw the junction between the frame and the wall finish. Otherwise the joiner and painter may each price a different boundary for their work.
If an MDF, particleboard or plywood component is offered with an emissions claim, ask for documentation that identifies the supplied product. The US EPA’s consumer guidance on composite-wood labelling explains what a TSCA Title VI label identifies for products covered by that US scheme. This can help interpret a supplier’s claim; it is not a statement that US requirements are the Saudi approval route, nor a certificate for every component in a finished door.
Check privacy, airflow and sound as one problem
“Solid core” is a construction description, not a promise that a conversation cannot be heard from the next room. Ask what performance is actually documented for the proposed assembly and whether the quotation includes the matching frame, perimeter seals and bottom detail.
The Steel Door Institute explains that acoustic doors are tested as an assembly, including the door, frame, hinges and sealing system. Its guidance concerns steel doors; it does not establish a rating for the custom timber door in your quotation. For that door, request the applicable test report and check that the construction and components being offered match it. If the seller cannot provide evidence, treat the claimed acoustic rating as unverified.
Consider an illustrative bedroom brief: the owner wants quieter calls, while the mechanical design relies on a return-air path through the doorway. Adding a seal to close that path changes the ventilation arrangement. The next decision is therefore for the designer and mechanical consultant to coordinate the airflow route and privacy requirement, rather than for the carpenter to choose a gap on site. The example identifies a coordination question; it does not prescribe a particular ventilation design.
Where the project specifies a fire-rated opening, ask for the approved assembly and its installation requirements before selecting decorative alterations. Do not infer a fire rating from thickness, weight or the words “solid wood”. Have the responsible project professional confirm the required performance and the acceptability of the proposed assembly.
Agree the site conditions before delivery
Wood exchanges moisture with the surrounding air and changes dimensions as its moisture content changes, as explained by Oklahoma State University’s wood-science guidance. This is a material behaviour, not a reason to assume every timber door will fail. It does mean that storage, installation conditions and the intended room environment belong in the order.
Ask the supplier for the documented storage, conditioning, finishing and maintenance requirements of the actual product. Agree who checks that the site meets them before delivery and installation. Do not substitute a universal “leave it for a few days” instruction for the maker’s requirements. If the building will initially be unoccupied, tell the supplier how it will be operated during that period.
For a bathroom or laundry opening, describe the exposure rather than just writing “moisture resistant”: is the door outside the wet area, near repeated splashing, or alongside a poorly ventilated room? Ask what the proposed construction and finish can tolerate, and how cut edges will be treated. Resolve the room’s ventilation and water-management design separately; the door specification cannot compensate for an unresolved leak or wet-room detail.
Issue a door schedule that both bidders can price
Give each opening a unique reference on the plan and use that reference on every quotation and shop drawing. The schedule below is a purchasing checklist, not a set of universal construction dimensions.
| Record | What the supplier must confirm |
|---|---|
| Room and opening reference | Location, intended use, drawing revision and whether the item is new or a replacement. |
| Dimensions and measurement | Surveyed opening, finished wall thickness, floor-finish build-up, leaf size and required clear passage. Name the party responsible for final measurement. |
| Operation | A marked plan showing the actual opening direction, hinge or pivot position, handle side and stop. Avoid an unexplained “left-hand” description. |
| Leaf and frame | Core and face construction, edges, frame type, fixing detail and junction with adjacent finishes. |
| Hardware | Identifiable hinge or pivot, handle, latch or lock, stops, seals and any closer. Confirm compatibility with the proposed leaf. |
| Finish and appearance | Approved sample reference, sheen, grain arrangement where relevant, treatment of all visible edges and responsibility for site touch-ups. |
| Performance | Project-specific acoustic, privacy, ventilation and any required fire-performance details, with the supporting documents identified. |
| Installation and handover | Frame installation, protection, final adjustment, cleaning, defect rectification and written care instructions. |
Use the same schedule for every bidder. For doors incorporated into wall panelling, also align the scope with the joinery quotation comparison: the door, concealed frame, adjacent panels and their finishing must not disappear between separate trade packages.
Compare the installed scope, then inspect a completed opening
Break each quotation into leaf, frame, hardware, finish, delivery, installation and making good. Ask the bidder to mark each item included, excluded or subject to an allowance. Record taxes and other charges explicitly so the totals are comparable, without assuming that a headline unit rate is the finished cost.
Price proposed changes separately: a taller leaf, a concealed frame and upgraded hardware should each be compared with the same base specification. You can then see which choice changes the price, keep the feature that matters, and remove a costly detail that does not meet a room requirement.
Before approving a repeated custom detail, consider a sample completed opening. Review it with the people who will use the rooms and check:
- The leaf moves through its full travel without hitting the floor, furniture, switches or another door.
- The latch, lock and handle operate as intended, and the door sits correctly when closed.
- The agreed passage remains usable with the door open.
- The frame junctions, veneer arrangement, paint and visible edges match the approved details and sample.
- Any specified seals and other performance components are present and installed according to the approved assembly.
- The supplier hands over the applicable product documents, care instructions and an agreed route for adjustment or defects.
A visual inspection does not prove an acoustic or fire rating. Keep the relevant documentation with the door schedule, and make any required specialist acceptance checks part of the agreed scope.
Finally, name who accepts the installation and who corrects it. If the designer, joiner and main contractor have separate appointments, settle that responsibility before ordering; the guide to design, supervision and turnkey scopes explains the wider distinction. A custom door is ready to order when its appearance, operation, documentation and installation responsibilities are agreed together.